
An overview of adding custom products to a Proposal PowerPoint export
You may want to add products to your proposal that we do not offer within Ui.Marketing like your owned and operated (O&O) campaigns. You can add these into your proposal via the PowerPoint export functionality.
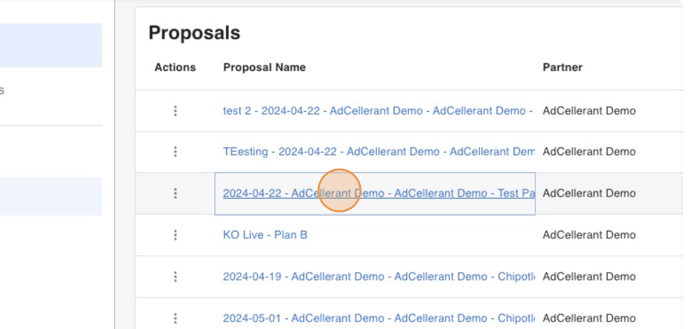
- Navigate to https://ui.marketing/campaign-hub/proposals
- Find the proposal you want to add your custom product time within the table.
- Click "Review Proposal"
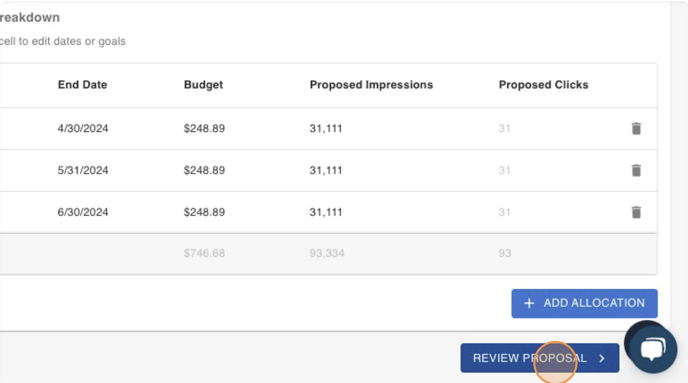
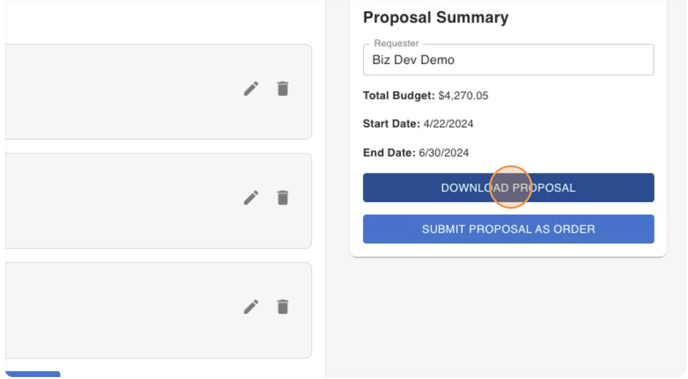
- Click "Download Proposal". This will start the process to get your proposal generated into a PowerPoint.
- Once the proposal is ready for export, you will receive a notification to download it.
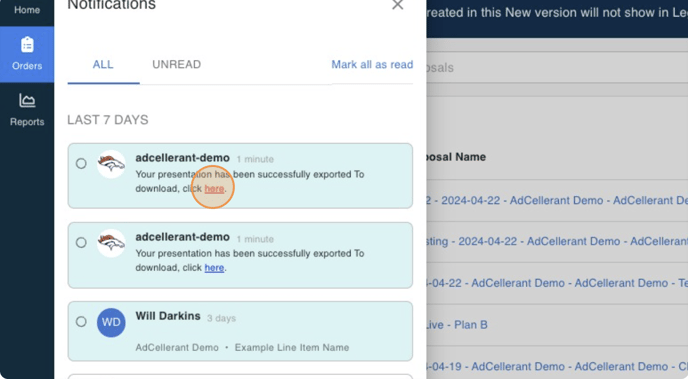
- Open the download in PowerPoint on your computer or you can upload to your Google Drive and open via Google Slides.
- Find a good spot to add your slide in the PowerPoint and click "New Slide" in the top navigation bar.
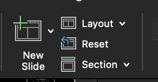
- Once you add your new slide, next to that button is the "Layout" button. On there, you can change the layout of the slide to whatever you wish to make your proposal look even better.
- Now that you have added your slide and selected a layout, you can add your custom, products to your proposal. You can add as many as you'd like.